
Light Microscopy
Light microscopy is one of the most common methods used to analyze tissue. However, these tissue sections will be thicker than those viewed by an electron microscope.
A light microscope uses visible light to look at specimens and has a range of features which you should be aware of. First of all, the brightness of the field can be adjusted easily by turning a knob. What may be more difficult to do is to focus the field. The first step is to use the coarse adjustment knob to bring the field into focus and use the fine adjustment knob to focus into the details. Make sure you start off with the lowest magnification to center the object of interest before you move onto a higher magnification.
Tips:
- Do not make quick, careless movements when changing the magnification. This may damage the rotating piece!
- Make sure to not get fingerprints on the coverslip so hold the slide by the sides
- Hold the slide in place with the clips
Example of Coronal Section in Light Microscopy:
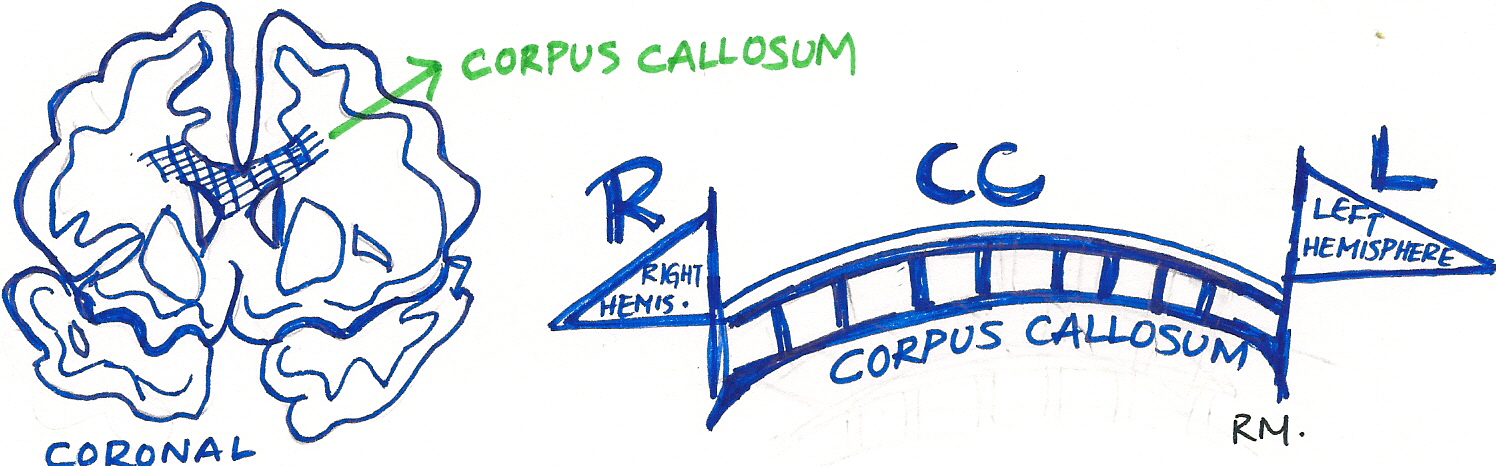
The coronal section of a rat brain may look something like the image displayed above. The area that I wish to focus on is the corpus callosum which basically acts like a bridge between the left and right hemispheres of the brain. For my own study, the corpus callosum was my region of interest due to the high volume of myelinated axons contained within it.
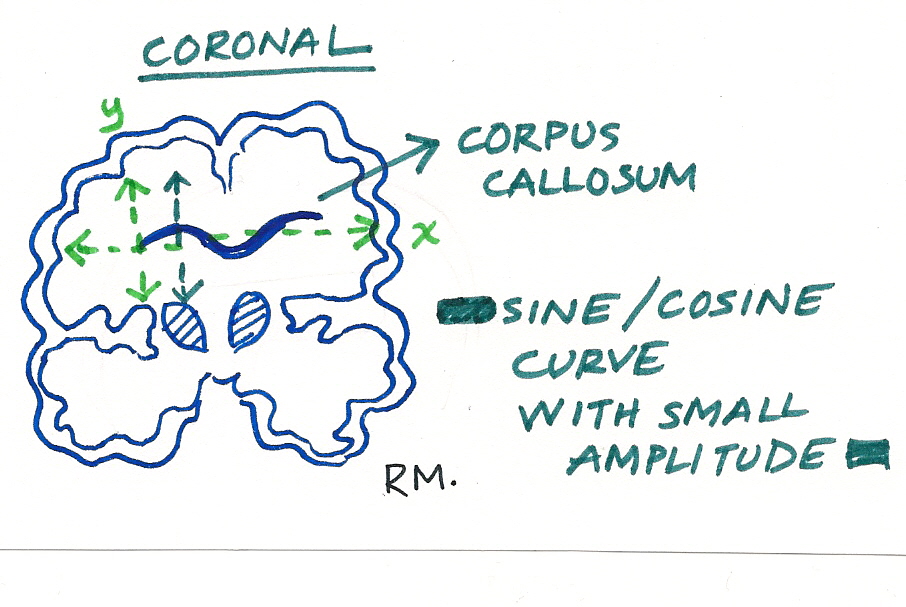
Other than the fact that the corpus callosum lies between the two hemispheres of the brain, I also noticed that it looks like a sine or cosine curve depending on the position of my axes and that helped me locate this region under a light microscope. I made sure that this region was directly under the lens and I would slightly change position of the slide until I reached my desired location.